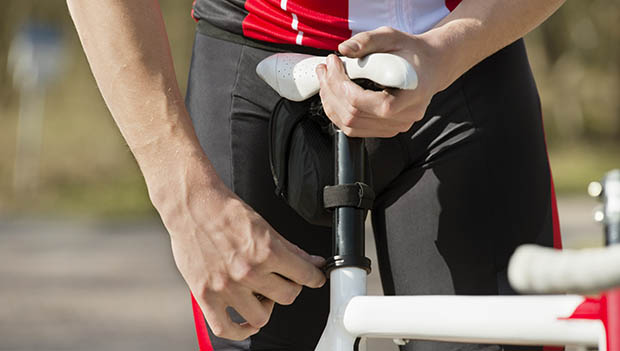
Hang out along a bike trail for a few minutes, and you'll see people zipping by on beach cruisers, road bikes, mountain bikes—you name it—all with different saddle heights.
We've heard it all: Everything from "I like my feet to be able to touch the ground when I'm sitting on the saddle" to "I like to scoop up at the bottom of the pedal stroke with my toes." It's tricky, but while personal preference should be considered when setting your saddle height, there are a few general parameters to keep in mind that are important.
But why should you care where your saddle is positioned?
First, it maximizes your riding efficiency. Your body geometry and bike geometry need to find that natural "sweet spot" that allows you to strike the right balance between power and spinning fluidly. Second, once you find this position, you'll feel more natural on the bike, which helps with overall handling and comfort. Lastly, if you're positioned correctly on the bike, it'll help prevent injuries associated with overextending through the pedal stroke or being too compressed.
Here we break down two different ways to determine and set a correct saddle height. Remember there's more to a proper bike fit than this single position—we recommend heading to your local bike shop for a complete bike fit with a certificated professional to maximize your cycling experience.
Let's get started.
The Heel Method
This is a classic and is probably the most common at-home way to get your saddle height in the correct range. If you have a stationary trainer, use it, but if not, you can also use a countertop or doorframe to help stay upright.
Put on the shoes you plan to ride in most—whether they're cycling-specific shoes, a pair of flip flops or a pair of sneakers. Get on the bike, situate yourself comfortably on the saddle, keep your hands on the handlebars and place your heels on the pedals. If you're on a trainer, pedal slowly forward, or if you're leaning against a doorway, pedal slowly backward.
Pay attention to your hips through this process. If you notice they're rocking back and forth while pedaling with your heels on your pedals, this means your saddle is positioned too high and you're overextending.
Get off the bike, drop the saddle a tiny bit and get back on, repeating the previous steps (remember, your heels are on the pedals). When it comes to saddle height adjustments and bike fit adjustments in general, a little goes a long way—do this gradually until your hips are stationary as you spin.
Try the opposite if you notice your leg can't fully extend in the six o-clock position from the very beginning. Your saddle height is likely too low, so gradually raise your saddle until you feel the rocking in your hips, then bring it back down a little bit.
If all feels right, head out for a few rides over the next week or so. Pay attention to how the position feels in the real world, and make small adjustments if needed until you think you're at the correct height.
The Lemond Method
Named after the famous American cyclist himself, this method requires one simple measurement and a bit of math to help determine your proper saddle height.
First, put your cycling shoes on and grab a tape measure and a straight edge. Stand straight with your back against a wall, and bring the straight edge up tight against your inseam. Make sure the straight edge is level (have a partner look from the side), and mark the height on the wall.
Use your tape measure to record the measurement from the ground to the mark on the wall. Grab a calculator and multiply this number by 0.883 to get the approximate saddle height that's best for you.
Measure from the top of the saddle along the seat post and down to the center of your bottom bracket and adjust the saddle height until this measurement matches the magic number on your calculator.
Again, like the previous method, this is just a rough starting point that will put your saddle height within the correct range. You might need to adjust your saddle height a few millimeters up or down depending on how you feel while out on the road.


